The last in Alison Daykin's set of three blog posts ... a thorough grounding to get you thinking about Design and her course. As with the other posts this one includes useful advice about what you might bring with you to help prepare for designing in other courses too.

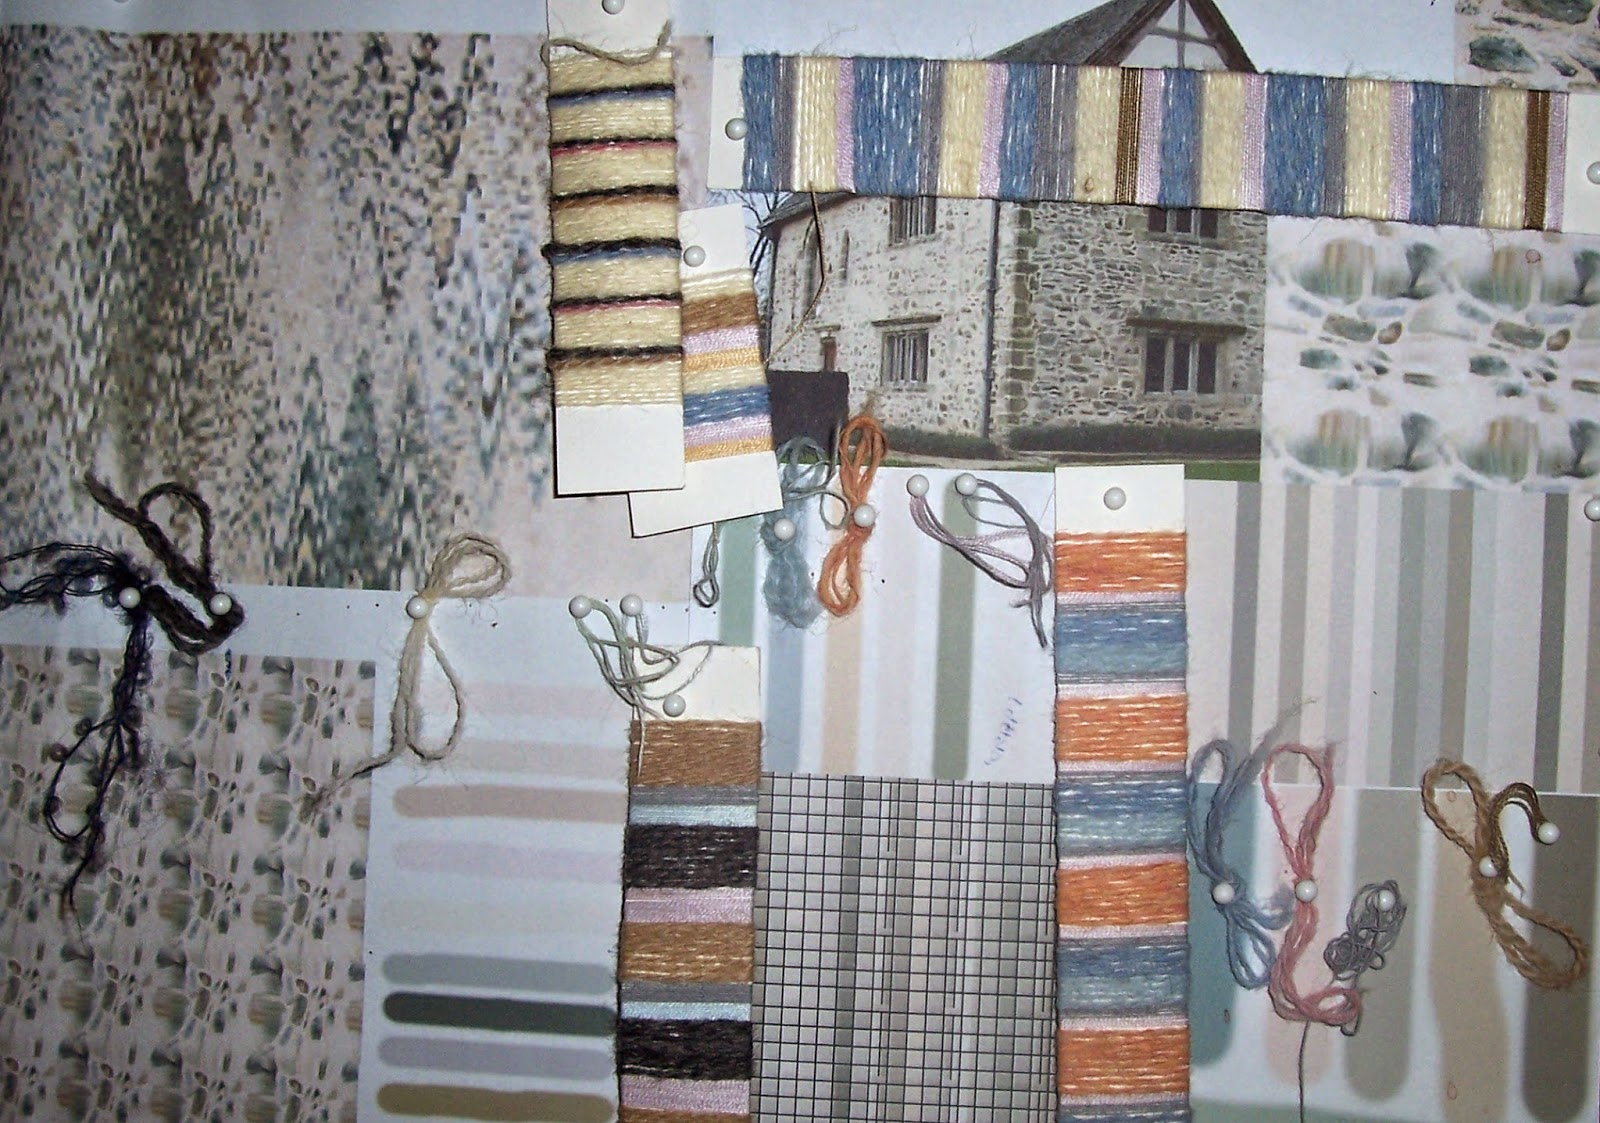
In the last blog post I gave you ideas of what to collect
to bring to Moreton Morrell next year for Summer School.
You will see that the title says Design
Development, this is what we will do once our art work has begun and when ideas
pop into our heads.
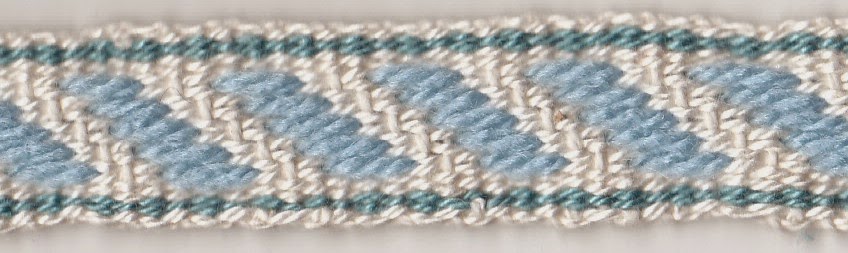
Design development
uses samples to try ideas to see if they work in practice
Now I know you will all have different projects in mind,
so you will all be designing for different disciplines, knit, weave, crochet,
embroidery, etc., etc. So here is a list
of materials and equipment that you might want to bring appropriate to your
discipline:
· Woven fabrics – yarns in the colours of your
inspiration to match the colours in your mood board in a range of fibres that
you may feel appropriate for your project.
Textured yarn to match colours and textures in your inspiration and mood
board.
◦
A small loom with any number of shafts that you are
used to working with. Associated warping
equipment to help you make short warps, such as posts, guide string, raddle,
ties, threading hooks, bobbins, etc.
Record sheets. Tape measure.
· Tapestry – yarns in colours and/or textures of
your inspiration and mood board.
◦
Frame loom, small loom, tapestry warp, tape
measure, bobbins, etc.
· Knit – yarns in colours and/or textures of your
inspiration and mood board.
◦
Needles, stitch markers, tape measure, pins,
etc.
· Crochet – yarns in colours and/or textures of
your inspiration and mood board.
◦
Hooks, stitch markers, tape measure, pins, etc.
· Embroidery – fabrics and yarns in colours and/or
textures of your inspiration and mood board.
◦
Needles, tape measure, frames, hoops, pins,
Wonderweb. Notebook and record sheets.
· Patchwork – fabrics in colours and/or textures
of your inspiration and mood board, sewing thread to match, wadding, paper for
templates.
◦
Pins, tape measure, chalk, etc.
· Spinners – fibres in colours of your inspiration
and mood board. Anything you might want
to insert into your yarns.
◦
Spindle or spinning wheel, bobbins, niddy noddy,
lazy kate, etc.
· Everyone - other bits and bobs you'd like to use
in your samples, such as ribbons, feathers, cords, lace, felt, noils, etc. Books with stitch/weave ideas. Notebook and pen, labels, file and clear
pockets.
I'm sure I've not included every discipline that you might
want use your designs for, nor have I written an exhaustive list of materials
and equipment you might need. I am a
weaver, spinner and dyer and have touched on knit, crochet and embroidery in
the past and have tried to remember what I've used in the past, but you are the
best person to know what extra things you are likely to need. Equally, some of the things I've listed may
not be appropriate, it's for you to decide.
Don't forget that the aim of the course is to give you
confidence and to have fun so don't be intimidated by the list. What you've not got someone else might and
you'll have plenty to work with at Summer School and when you get home.


